The Call Campaign feature enables users to run campaign for numerous contacts along with rich features like greetings, retry, campaign reports, campaign contacts list and campaign status. User can get all the information specific to a campaign in one place. Additionally, New Campaigns has it’s own Contacts list and campaign reports. contacts can be added just by uploading a CSV of phone numbers.
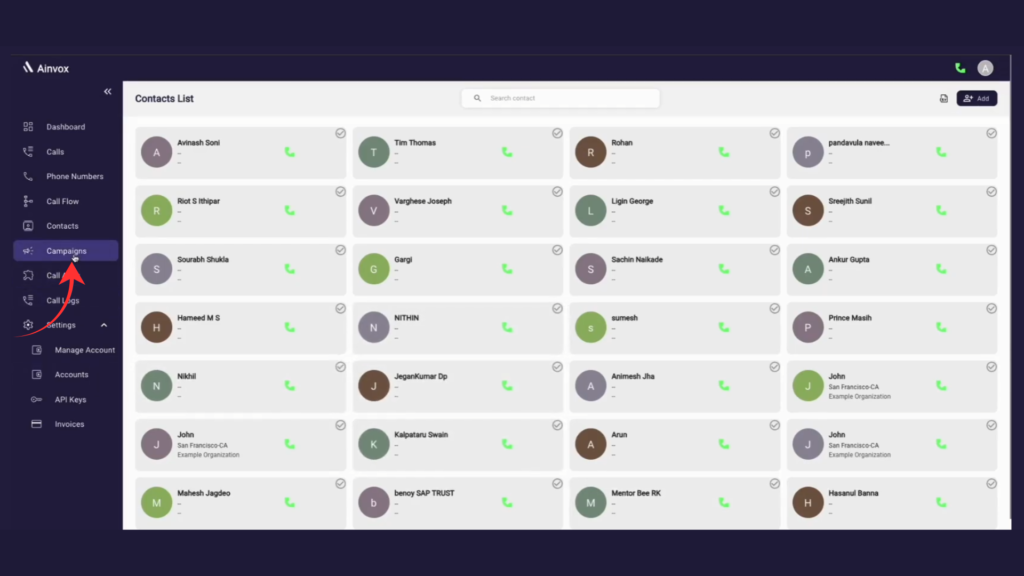
Step 1 : click on campaigns
The Campaigns section allows you to create, manage, and monitor all your marketing or calling campaigns in one place. From here, you can view campaign lists, track performance, check call status, manage contact groups, and analyze campaign results easily.
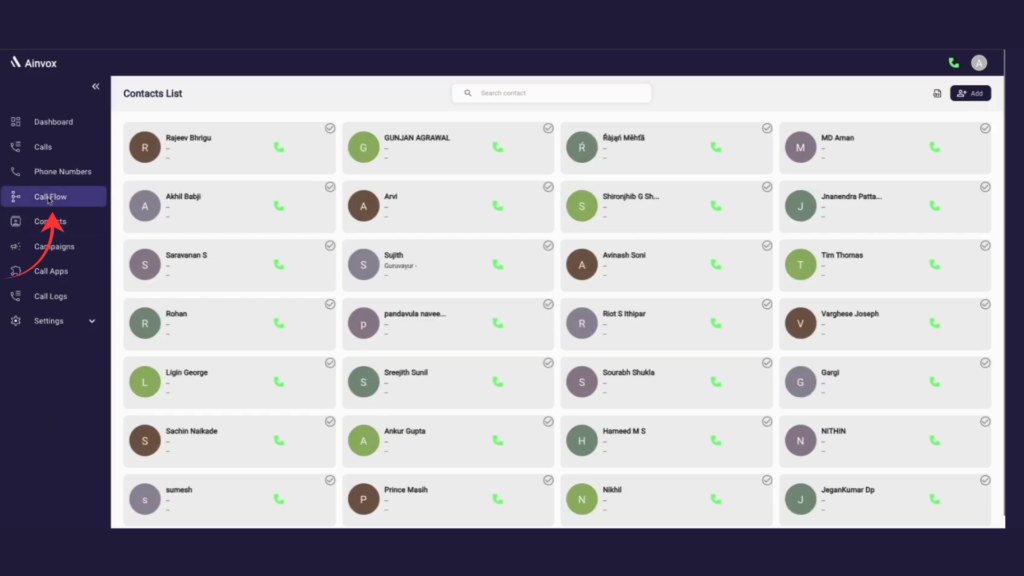
Step 2 : click on call flow
The Call Flow section allows you to design and manage how incoming and outgoing calls are handled in the system. From this page, you can create automated call journeys by connecting different actions like greeting messages, IVR menus, call routing, recordings, and agent transfers.
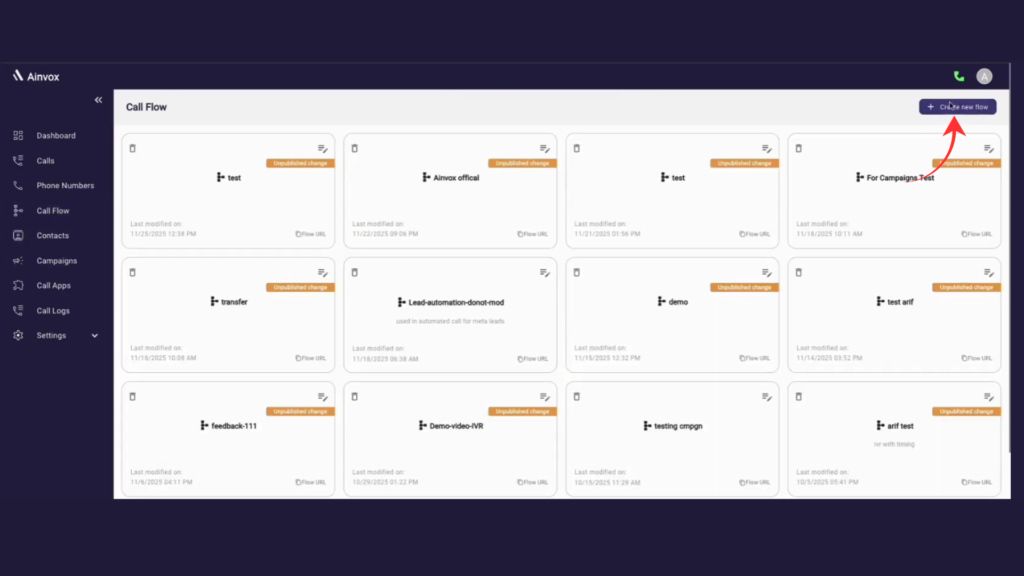
Step 3 : click onn create a new flow
When you click on the Create New Flow button in the Call Flow section, you can build a new IVR or automated call flow from scratch. This allows you to design customized call journeys based on your business needs.
Step 4 : drag play applet from the side panel and drop
To add a voice message in your Call Flow, drag the Play Applet from the side panel and drop it onto the flow canvas. This applet allows you to play an audio message to callers when the call reaches that step.
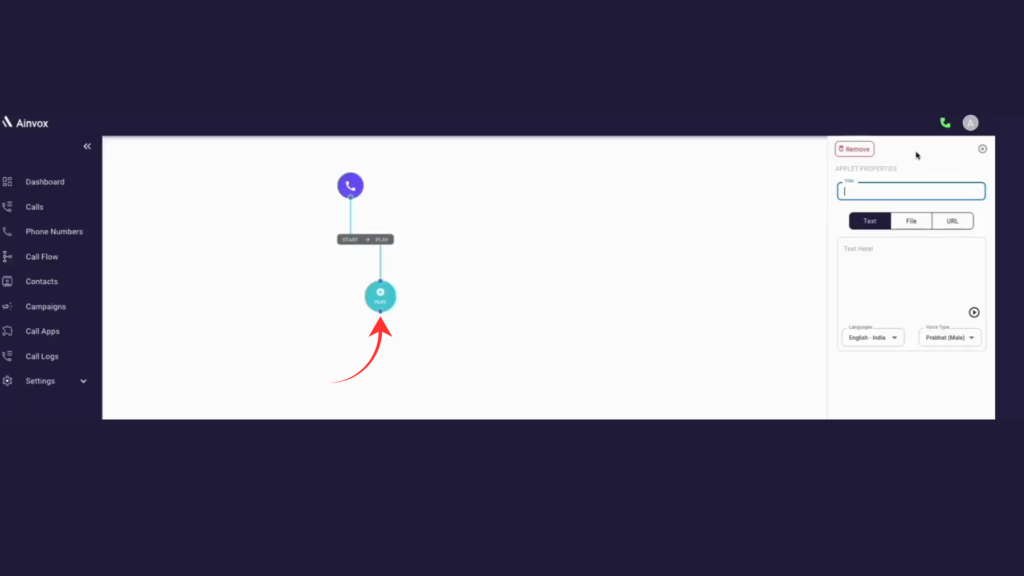
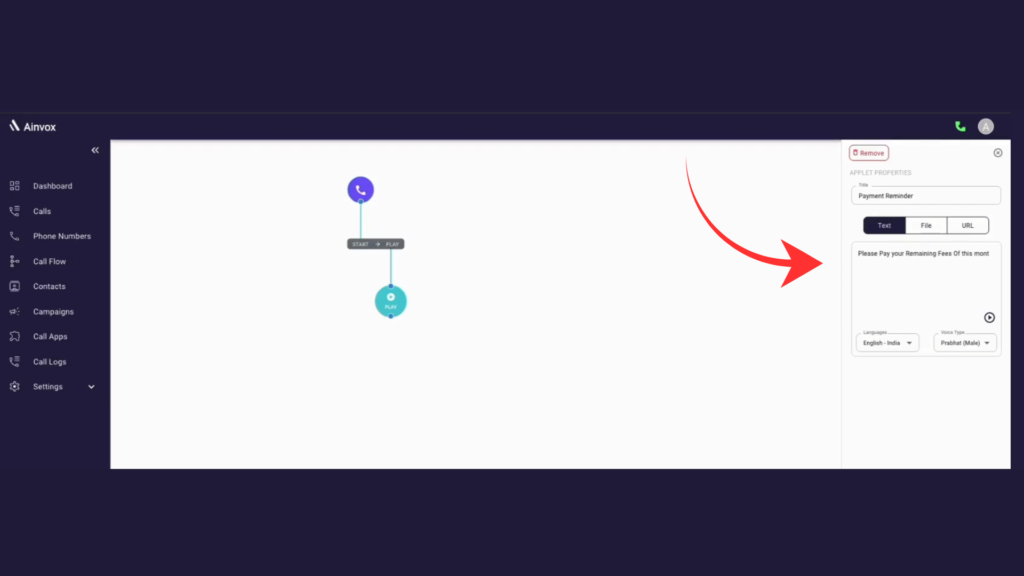
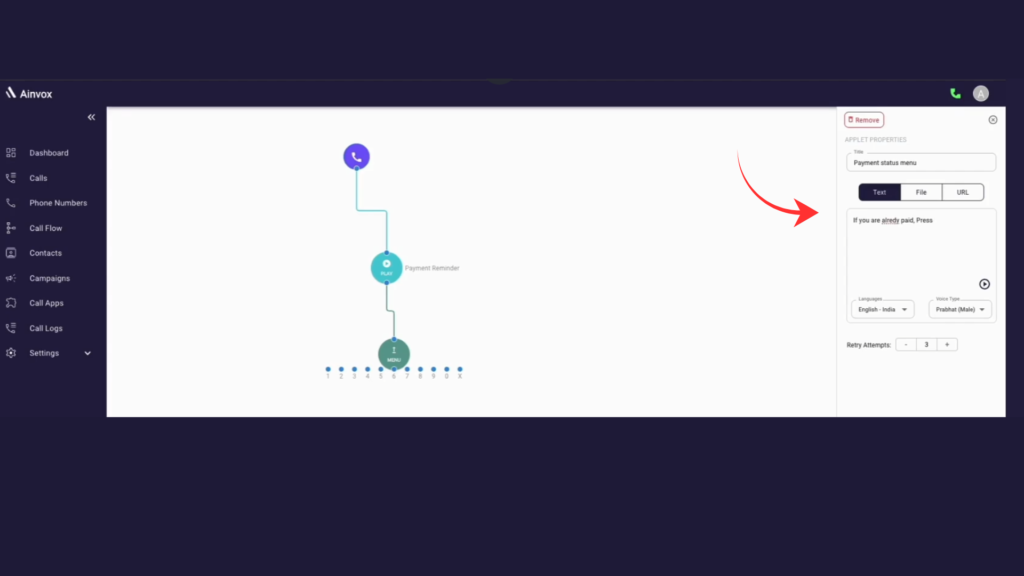
Step 5 : How to Set Up Text, Language, and Voice in Play Applet
After adding the Play Applet, you can configure the voice message from the Applet Properties panel on the right. Enter the message text in the Text field, which will be converted into speech using Text-to-Speech, then select the preferred Language (such as English – India) to ensure clear pronunciation. Finally, choose a Voice Type (male or female) to match your communication style, preview the message if needed, and save the flow.
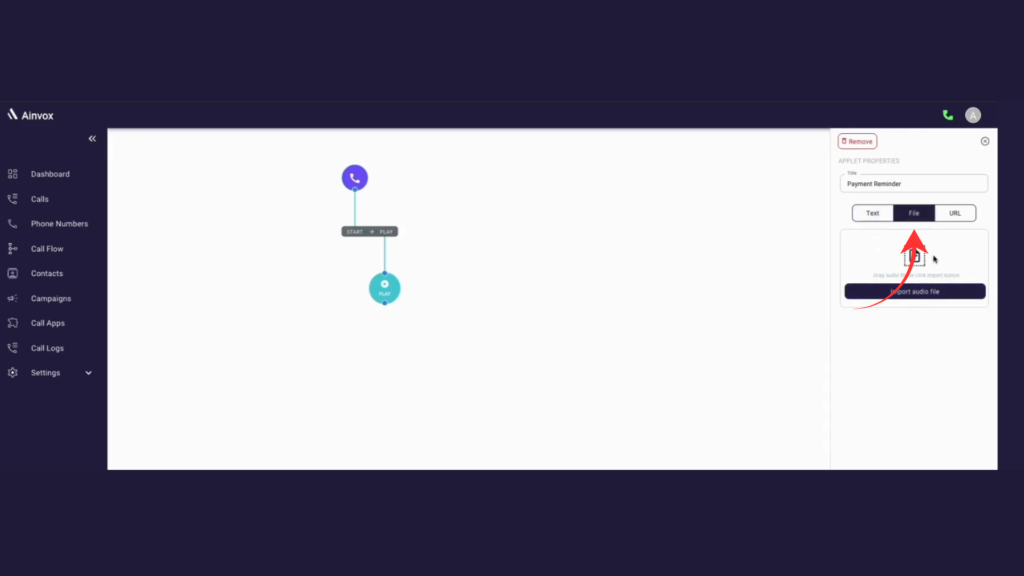
Step 6 : if you can add pre-recorded audio files , you can upload
To use a pre-recorded message, select the File option in the Applet Properties panel and upload your audio file by clicking or dragging it into the upload area. Once uploaded, the system will play this recorded message in the call flow.
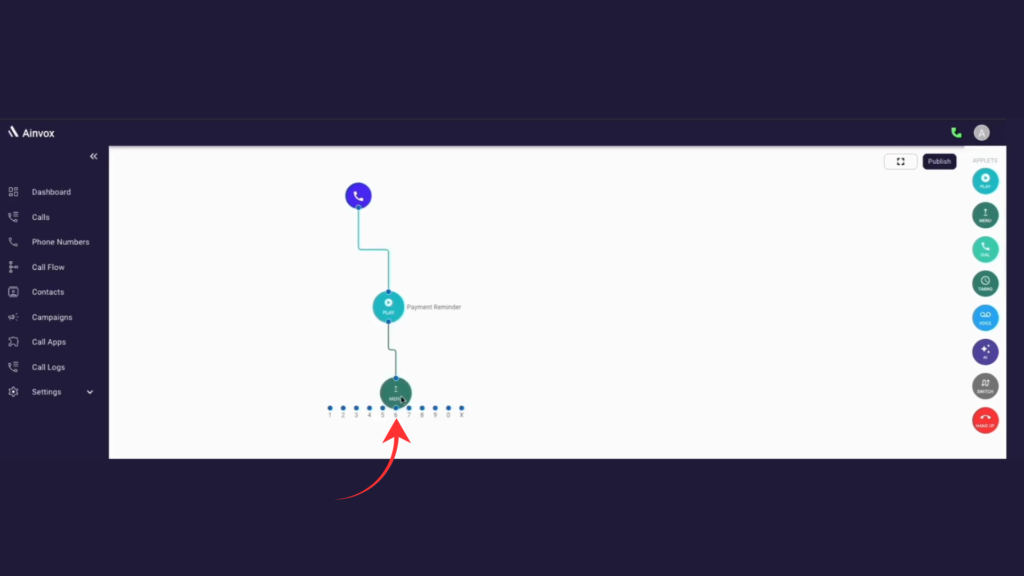
Step 7 : drag a menu outlet to the flow and connect it to the play applet
Drag the Menu outlet into the flow, place it below the Play applet, and connect it to the Play output. Then configure the key options and save the flow.
Step 8 : click on the menu
In the Applet Properties, add a Title to identify the applet, select the preferred Language and Voice Type for Text-to-Speech, or switch to the File option to upload a pre-recorded audio message for playback.
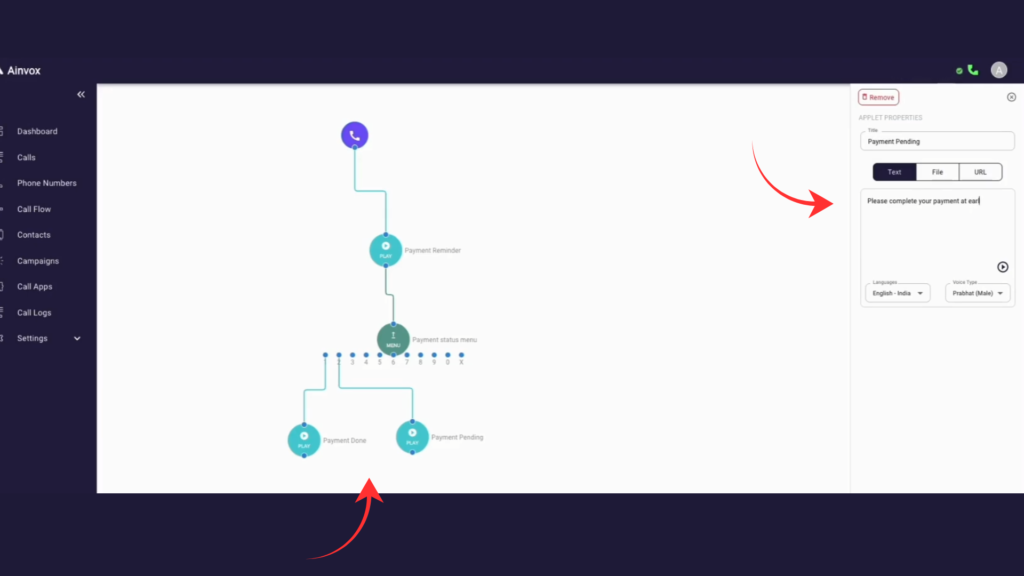
Step 9 : drag two play applets
The call flow includes two Play applets: Payment Done and Payment Pending. Both use Text-to-Speech with the content type set to Text, language set to English – India, and voice type as Prabhat (Male). The Payment Done applet plays a confirmation message, while the Payment Pending applet plays a reminder message asking the user to complete the payment at the earliest.
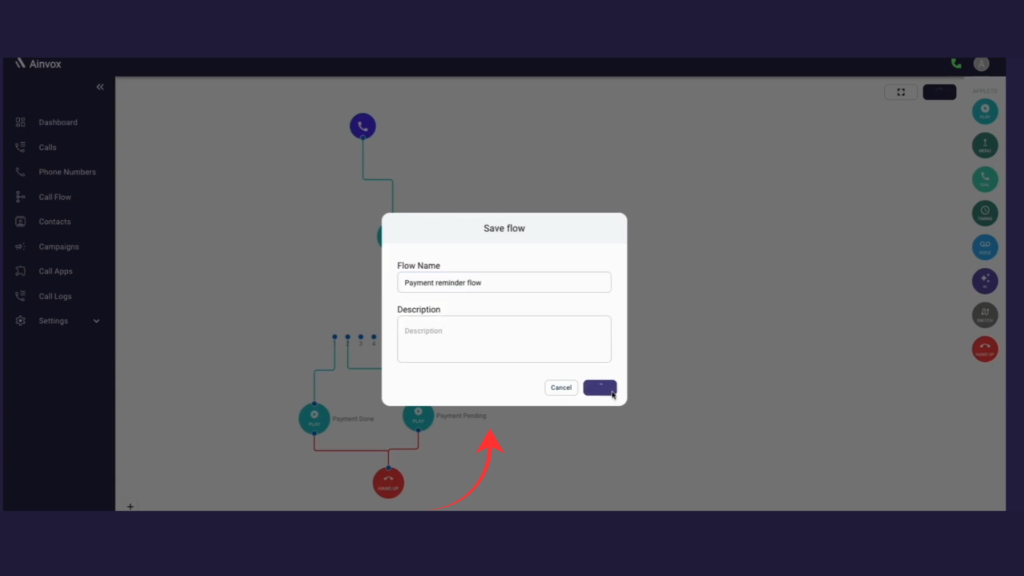
Step 10 : drag a hang up applet and connect
The Hang Up node ends the call immediately once the flow reaches it, ensuring the conv ersation closes properly after the final message. The Save Flow option stores your entire call setup, including all nodes and connections, so you can edit, activate, or assign it later.
Step 11 : create new campaign
a. Campaign name: name of the campaign
b. Description: describe a few about the campaign
c. Start date: The campaign will commence on the date you provided
d. End date: The campaign will end on the date you provided
e. Running time: The campaign will run at the specified time
f. Weekdays: You can choose the weekdays for the campaign to run
g. Excluded days: You can select the days to exclude the campaign from running
h. Call flow: Select call flow for the campaign or you can create new flow by using the “create new flow” button
i. Caller id: Select caller id for the campaign, from which calls will be made
j. Call Attempts: The number of times a call to a phone number should be attempted, in case of a previous unsuccessful attempt
k. Screening: You can provide the screening name and appropriate call flow for the screening. By using screening, you can evaluate the responses made by the people.

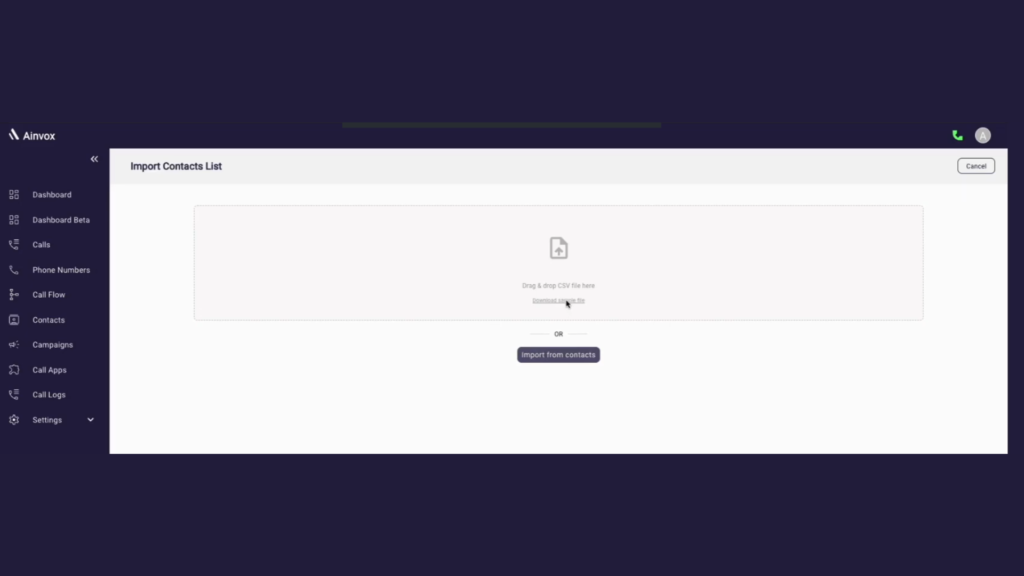
Step 12 : Import Contacts
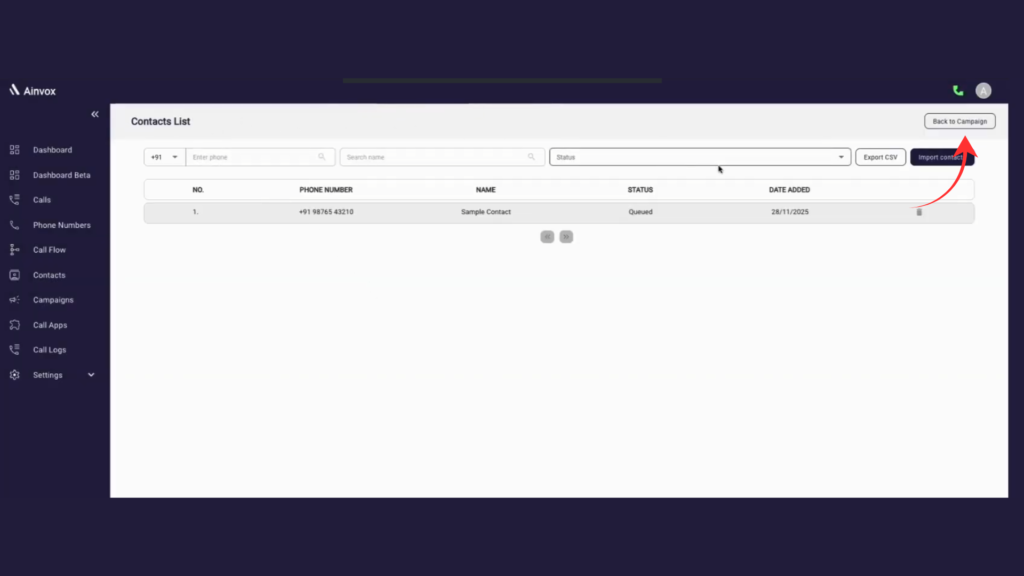
Step 13 : Back to Campaign
Click Back to Campaign to see the campaign you created. Before the scheduled time, it will appear as Not Started, and once the set time arrives, Ainvox will automatically begin running the campaign.
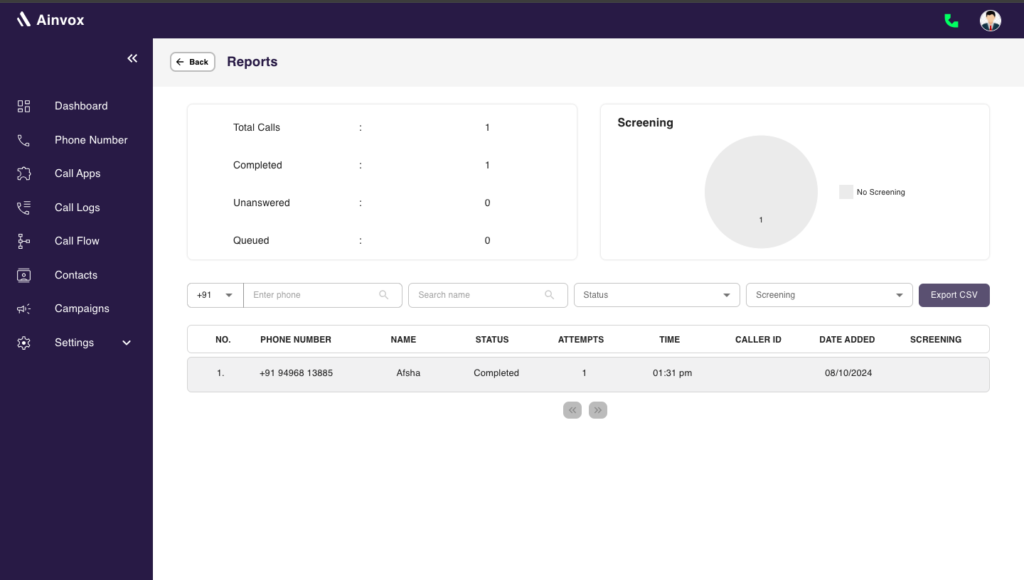
Step 14 : CAMPAIGN REPORTS
This section shows the list of calls that are made as a part of the campaign. It captures call details such as contact person name, phone number,.